Post Installation Validation
Following the installation steps, the following few steps should help validate that the configuration was done correctly as well as all services and authorizations are in place.
Search Help (SERVICES_SRV OData Service Validation)
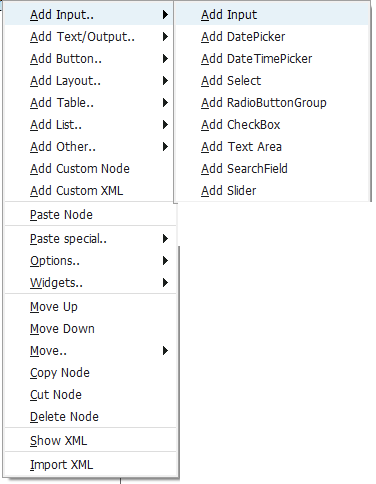
After the installation and creation of your first project, perform the following steps to add a search help to the new application. This will confirm that the generic OData services are installed, activated and you have sufficient authorizations to execute.- Right click on the Form Element.
- Select the Add Input... sub menu and select Add Input.
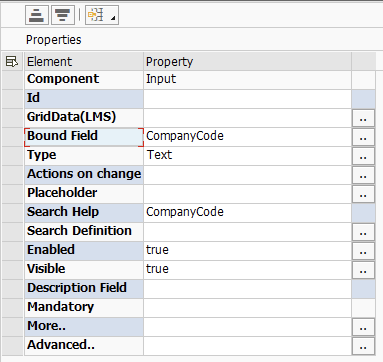
- In the Properties pane, please set the following properties:
- Bound Field: CompanyCode
- Search Help: CompanyCode
- Save the Project using the Save icon in the toolbar.
- In the Live Preview, the input should now have a Search Help icon.

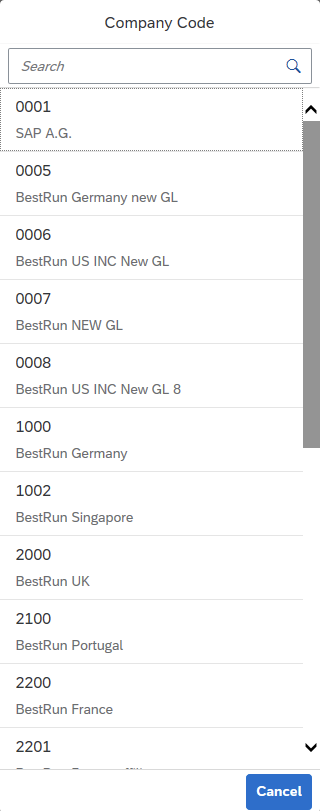
- Click the Search Help Icon. The following dialog, along with Company Code values should appear.
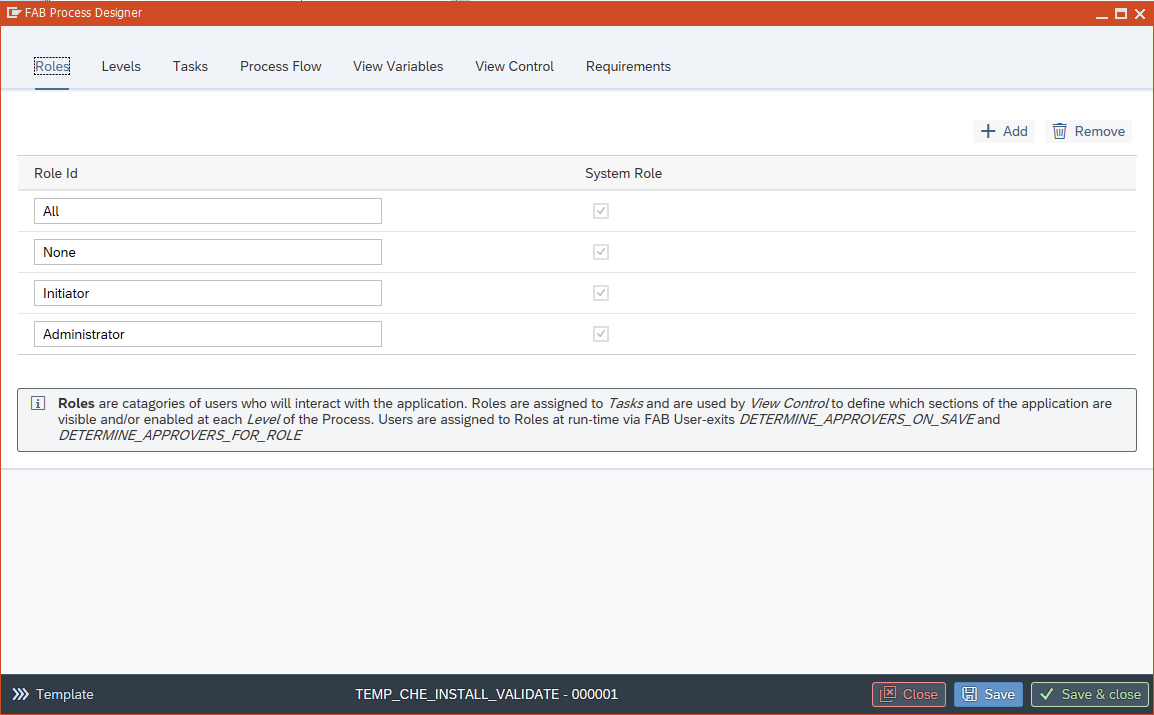
Workflow Editor
The workflow editor requires a correctly configured URL as well as the necessary activated services.- Click on the Workflow button on the toolbar.
- If the configuration is correct, you should see the following window appear.
- Click on the Workflow button on the toolbar.
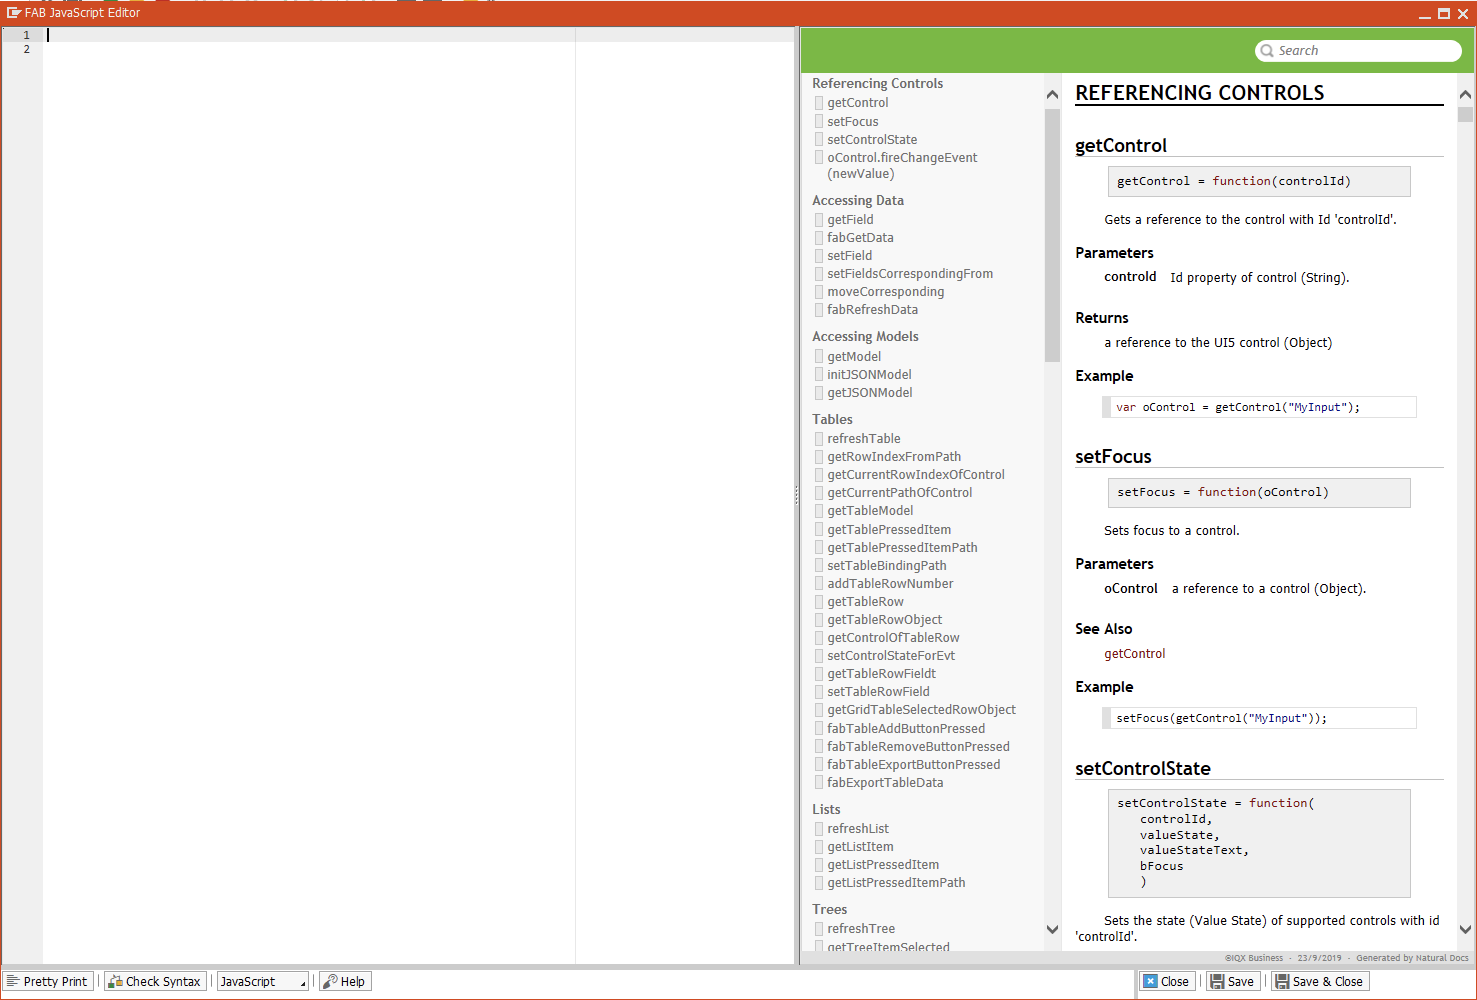
JavaScript Editor
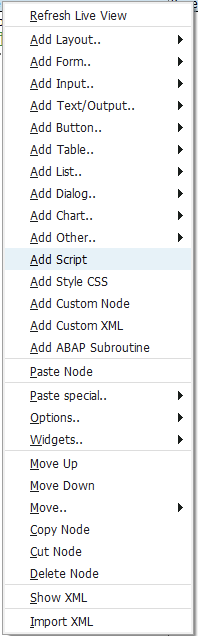
The JavaScript editor requires a correctly configured URL as well as the necessary activated services.- Right click on the Page node in the Form Structure panel.
- Select Add Script.
- In the Properties pane, click the button to the the right of the JavaScript property.
- If correctly configured, the following editor will appear.
Submitting a Form
Other than the SERVICES_SRV OData Service, another core service is FAB_SRV. This is used to read and write the application data model between the front and back end.- Click the Workflow button in the toolbar.
- In the editor, click the >>> Template button at the bottom left and click 1. Draft, Submit, Approve to add a workflow template to your app.
- Click Yes when prompted about the overwriting of all existing workflow data.
- Click Save and Close at the bottom right of the workflow editor.
- Save your app with the Save button in the toolbar.
- The live preview should reload and two new buttons (Draft and Submit) should appear at the bottom of the screen.
- Enter a value into the Company Code Input field you added earlier.
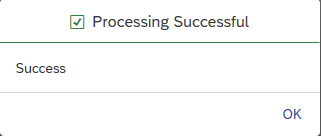
- Click Draft.
- If everything is configured correctly, a Processing Successful message should appear.
- Click the Workflow button in the toolbar.
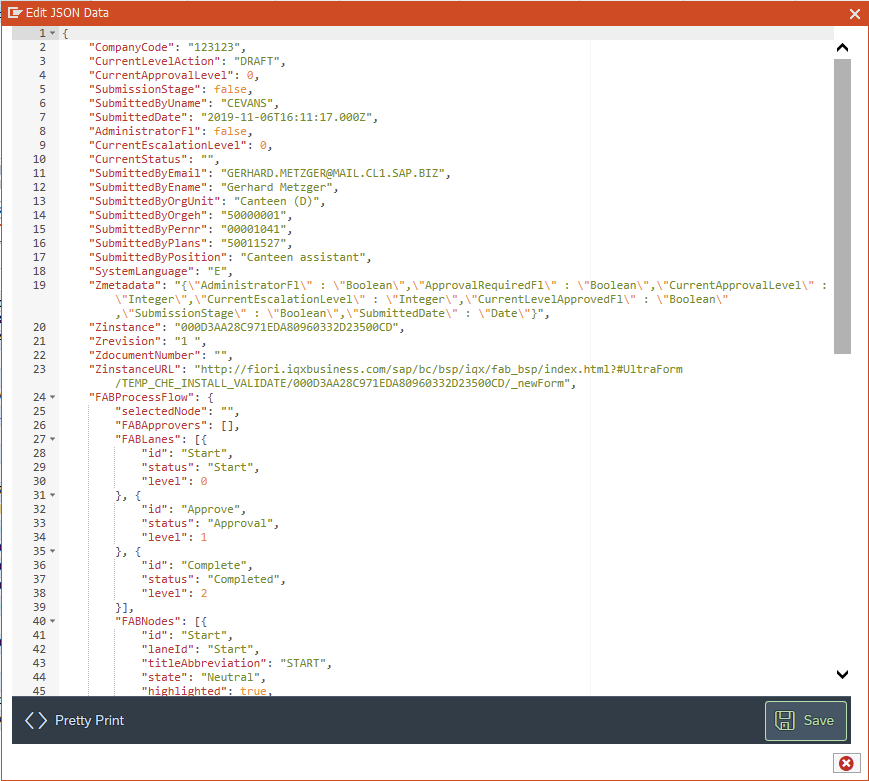
JSON Editor
Once you have submitted a form (Step 4), you can now test that the JSON Editor URL is correctly configured.- Click the Reporting menu option from within the FAB development workbench.
- Select Transaction Report.
- Click the Execute button or press F8.
- Towards the center of the screen, click the Edit Data button.
- If correctly configured, the following editor will be displayed.
Icon Picker
The Icon Picker also needs the URL to be configured.- In the FAB Development Workbench, click the Properties button in the toolbar.
- In the dialog that appears, click the search help in the Icon input field.
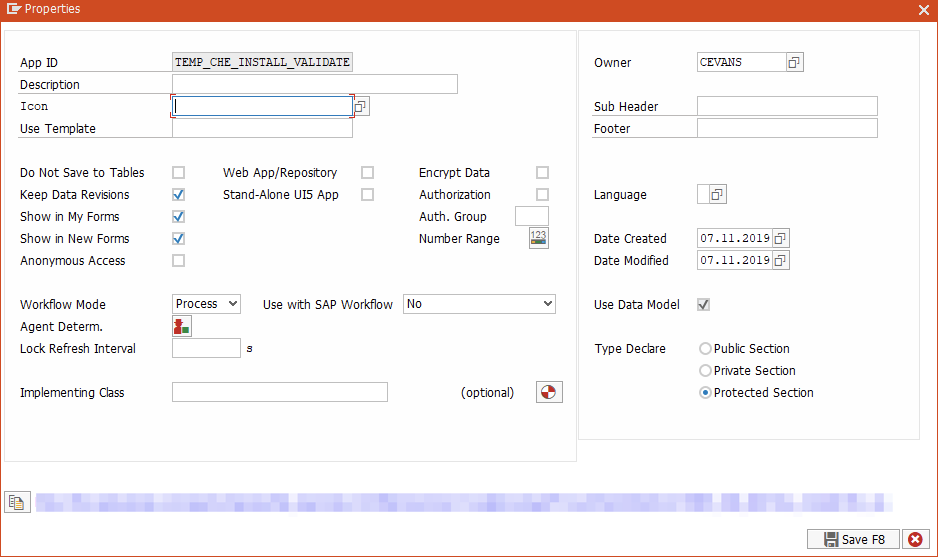
- If the Icon Picker is correctly configured, the following dialog will appear.
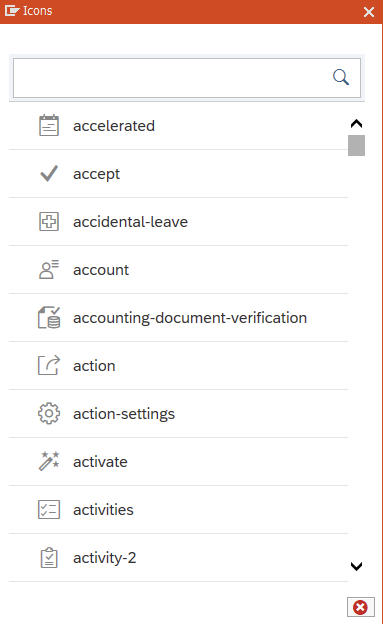
, multiple selections available,