3.3 BDC Recording
This functionality is useful to capture the screen interaction and data entered by a user. The BDC output can be used in the following ways:
- Simply as a guide to the data fields required
- To auto generate the data model for the entered fields
- To auto generate the UI fields and search helps
- Finally, to use the BDC as the basis for the SAP integration
In many cases, the SAP integration would be via Classes/methods or Function Modules (BAPI or other).
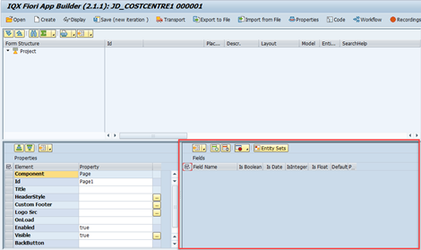
Step-by-step guide
- In the IQX Fiori App Builder Workbench open your project and click on ‘Recordings’.
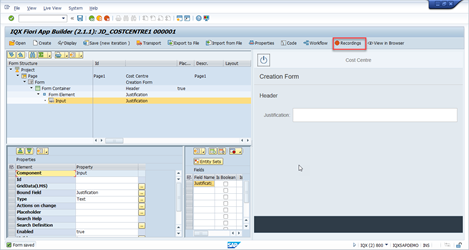
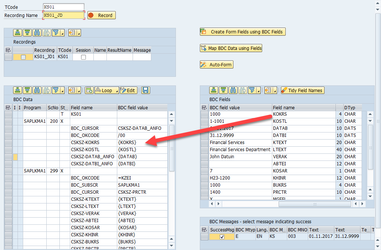
- Enter the transaction code you want to do a recording of and a recording name, then click ‘Record’.
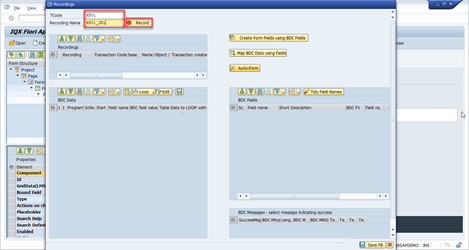
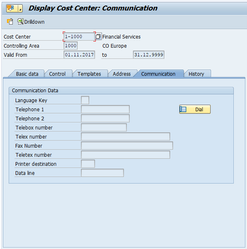
Note: In this example, I’m demonstrating how to do a recording of a cost centre master data creation using transaction code KS01.
- Complete the recording transaction by ensuring you are able to create a cost centre and generate a new cost centre number.


Once you click
 in the KS01 and the cost centre is successfully created, the recording automatically completes and reverts to the IQX Fiori App Builder Workbench.
 - After the recording completes, the recording will show the relevant fields necessary to complete the recording. The next step will be to create form fields using BDC fields.
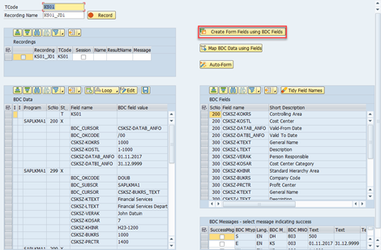
- Select ALL the BDC fields and click "Tidy Field names
 to clean the fields and remove numbering suffixes to the fields
 Click 'Create Form Fields using BDC Fields' – this automatically creates the form fields captured from the BDC recording.
 to
to 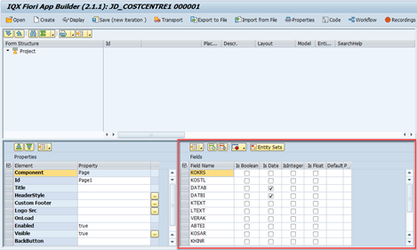
Click 'Map BDC Data using Fields' - automatically maps the BDC fields to the BDC data.
Click 'Auto-Form' - automatically creates the form based on the BDC recording.
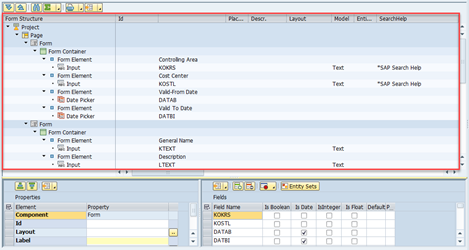
- Edit the form as necessary.
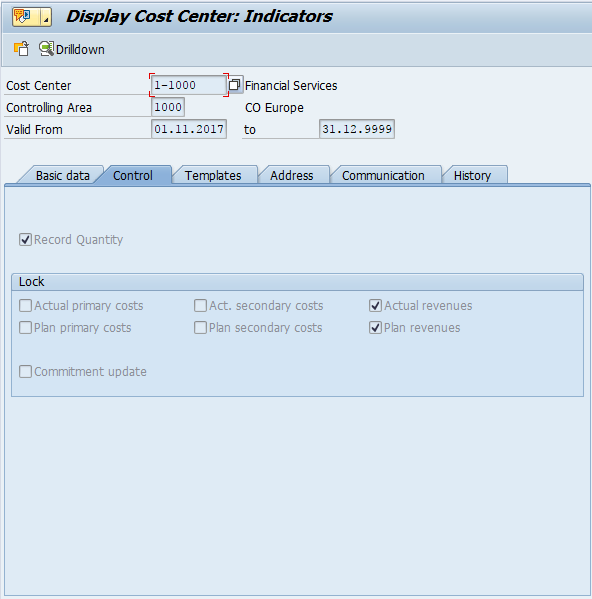
- First thing I would like to edit is the form element description. For example, I would like to align the form element label to the SAP cost centre creation (KS01) description.
Edit the label of the following form elements:
Change the form element label by going to the properties section and renaming the label from ‘Indicator for Recording Consumption Quantities’ to ‘Record Quantity’.
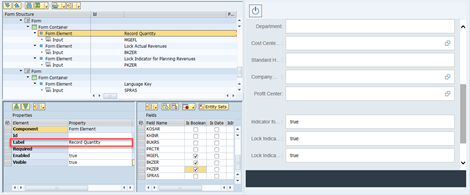
Do the same change for the other two labels.
- The second thing I would like to edit is the form element component property. As a default, it was created with 'Input' as a component property. As a result you can see from below that the field is shown as an input field.
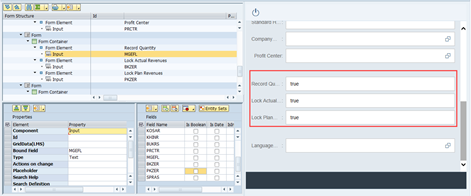
In this example, I would like to change the component property of the same 3 elements to a checkbox.
Note: You can’t edit the component property directly you have to delete the input and create a new one as checkbox.
Delete

Add checkbox
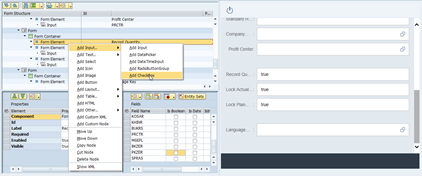
In the bound field, input the corresponding BDC field it is mapped to.
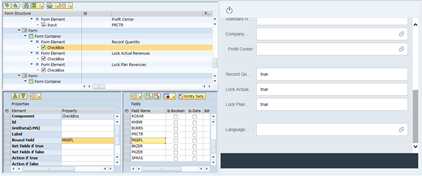
Do the same steps for the other two form elements.
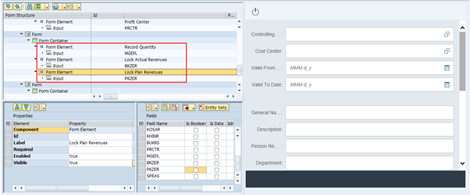
Final Result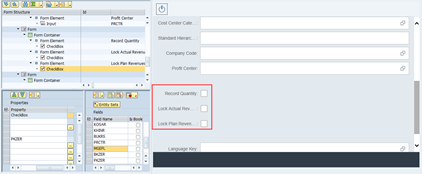
- First thing I would like to edit is the form element description. For example, I would like to align the form element label to the SAP cost centre creation (KS01) description.
- Click and view the form in browser.

Related articles