Step-by-step guide
Looping functionality is used during mass upload of a master or transactional data, which is usually performed during cut-over or batch processing. In the 1.1.1.3 BDC Recording process insert these steps to convert your form to an table that could display multiple records.
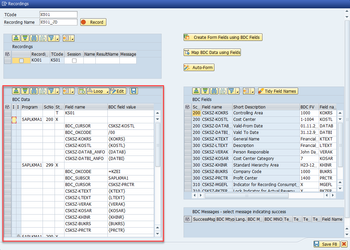
- Click in BDC Data section to allow changes.
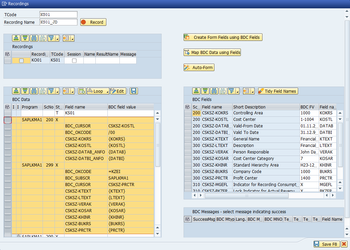
2. Select the BDC Data section that you like to loop. This is normally all the screen and field values in the recording for master data recording. In some cases you only need to loop in certain screens especially for recordings relating to transactional inputs.
3. Click , then 'Mark as LOOP' to set loop. 'Remove Loop' is also available in the selection to remove a loop in the future.
4. Click 'Save BDC fields' to finish editing the BDC.
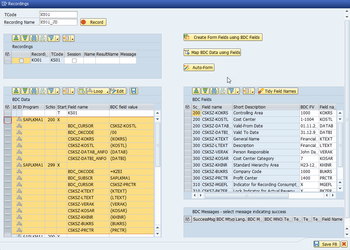
5. Click to generate the form with looping and allows for multiple records to be populated.
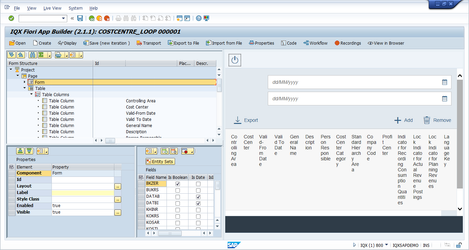
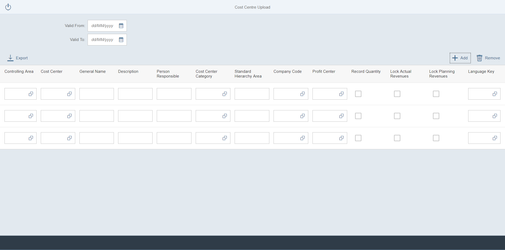
Before Auto-Form After Auto-Form
As it is, you can already make use of this form by manually clicking and inputting the information manually.
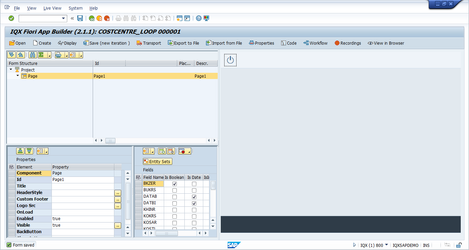
6. To add value to the solution, we could also incorporate an Excel drop or Upload Collection functionality so users could populate their file in Excel and just upload it in the form. To add, go to the workbench and add a new form.
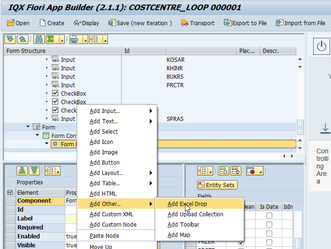
In the context menu of the Form Element → Add Other → Add Excel Drop.
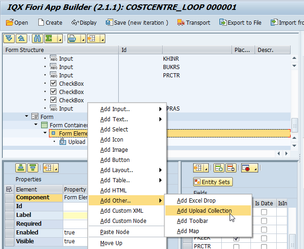
Alternatively, you can also add an upload collector, which selects the Excel file from a location folder. This is particularly useful if the file is uploaded via a mobile device.
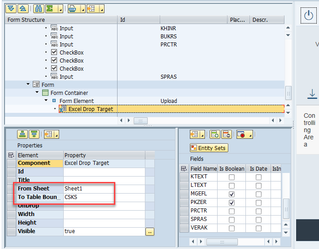
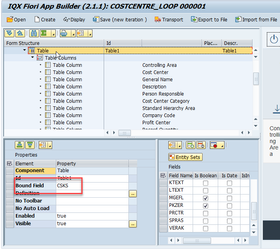
7. Link the Excess Drop form element to the table
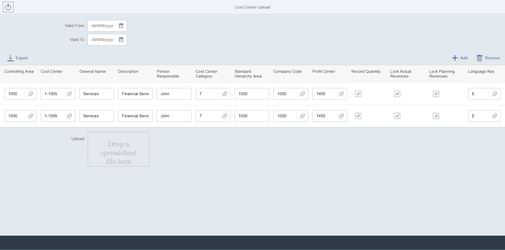
8. Browser view - Excel Drop
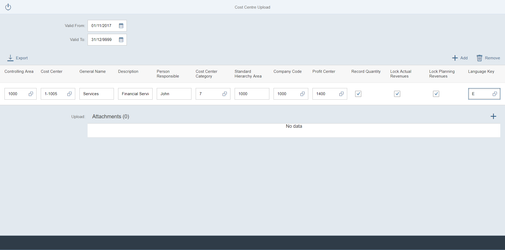
8. Browser view - Upload Collector
Related articles







0 Comments